Call us:

phone

+390187934112

email:

phone

ctssp@ctssp.com

Non-destructive Testing

Non-destructive Testing

The non-destructive testing (C.N.D.) are the set of examinations, checks and surveys carried out using methods that do not alter the material and do not require the destruction or removal of specimens from the structure under examination. The fundamental characteristic of this type of tests is to be able to analyze a component or measure quantitatively some chemical-physical characteristics of a particular without interfering with the material being tested; they do not modify, even on a microscopic scale, the physical and chemical characteristics and properties of the product in question.

Typical uses of non-destructive techniques are:

  • Research and evaluation of defects
  • Dimensional checks and checks
  • Thick reliefs
  • Deformation measures in static and dynamic conditions


Application fields:

  • Research activities – production development
  • Checks and checks of material in receipt
  • Monitoring, control and improvement of production processes
  • Verification of special processes such as: welding activity – heat treatments
  • Checking the correct assembly of components and structures before commissioning
  • Periodic monitoring and control in service of components, structures and materials critical to the production activity
CLICK HERE

CONTACT US
One of our consultants will be at your disposal.

The laboratory C.T.S. performs the following non-destructive testing, both in the laboratory and on site.

VISUAL TESTING (VT)

Qualified technical personnel III ° II ° SNT TC 1A in agreement with Doc. ASNT

Allows a quick, economic, easily repeatable, generally qualitative assessment of compliance with the required requirements.

PENETRATING LIQUIDS TESTING (PT)

Qualified technical personnel III ° II ° SNT TC 1A in agreement with Doc. ASNT – UNI EN ISO 9712.

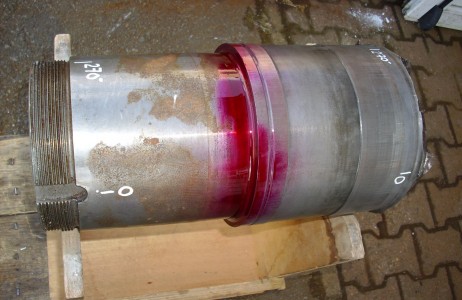
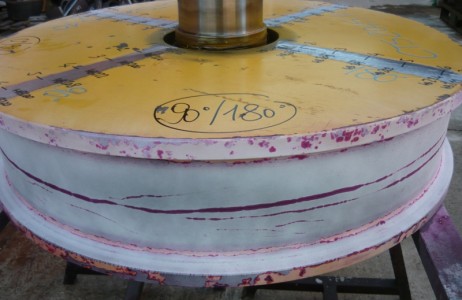
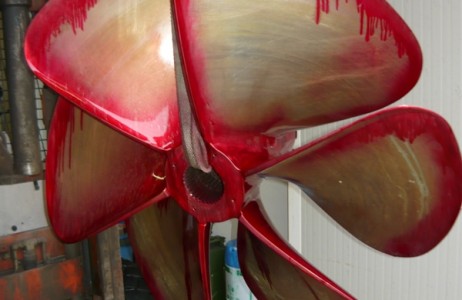
The examination is usually limited to easily accessible areas, and the sensitivity of the method is conditioned by the degree of surface finish. Fusible defects such as cold joints and shrinkage cracks can be detected.

The control technique with penetrating liquids is based on the “wetting” properties of particular liquids able to penetrate by capillarity within the discontinuities emerging on the surface. Looking at the piece under suitable lighting, the defects are highlighted by contrast between penetrating and detector.

MAGNETOSCOPIC TESTING (MT)

Qualified technical personnel III ° II ° SNT TC 1A in agreement with Doc. ASNT – UNI EN ISO 9712.

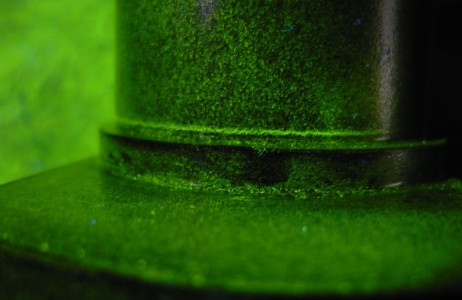
The control technique, which only works on ferromagnetic materials, is very sensitive and can detect defects even on parts covered with thin protective layers (eg paints).

The magnetoscopic method is based on the generation within the piece of a magnetic flux that is interrupted by possible discontinuities (superficial and sub superficial defects). The flow is visualized through very fine particle size magnetic particles applied to the surface of the parts under examination.

ULTRASOUND TESTING (UT)

Qualified technical personnel III ° II ° and I ° level SNT TC 1A in agreement with Doc. ASNT – UNI EN ISO 9712.

The ultrasound method is undoubtedly the most widespread for the ease with which it is possible to conduct the examination, the speed of execution, the high level of sensitivity, the wide range of controllable thicknesses and the type of materials: metal and composites .

In the most usual application an ultrasonic pulse is emitted which, by propagating itself in the particular to be controlled, is reflected by the eventual discontinuities present, and then detected and converted into an electrical signal to be presented on an oscilloscope.

RADIOGRAPHY TESTING (RT)

Qualified technical personnel III ° II ° SNT TC 1A in agreement with Doc. ASNT – UNI EN ISO 9712.

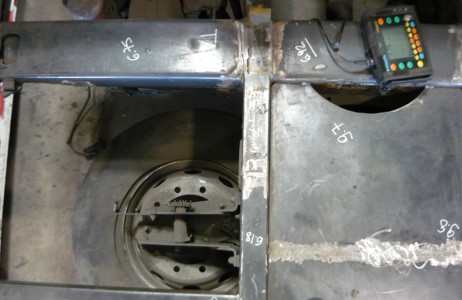
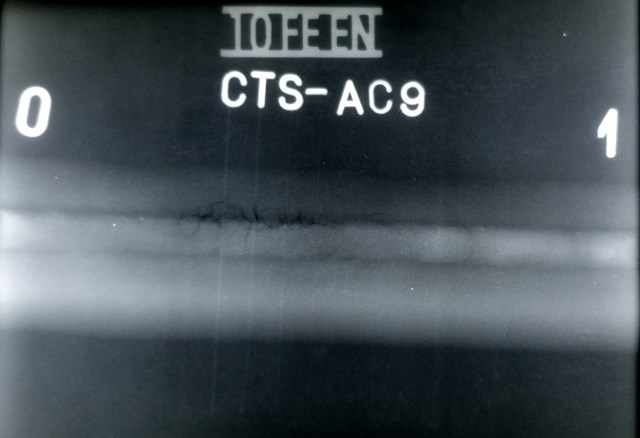
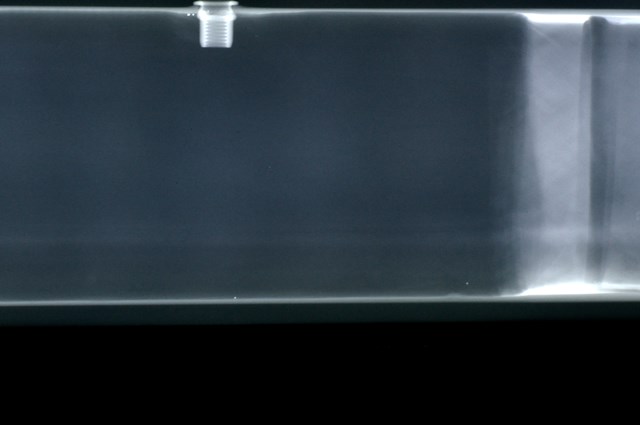
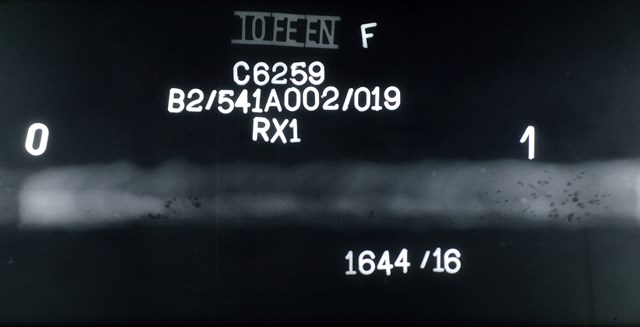
The radiographic method consists in detecting on the film the attenuation variations that an X-ray or gamma beam undergoes depending on the thicknesses crossed, penetrating the details under examination.
This non-destructive control technique is typically used, at the laboratory premises, in activities such as welders qualifications, welding qualifications, checks on carbon fiber composite components and mechanical in general, and in any case particular for which the evaluation of the configuration and internal status without conducting destructive tests.

EXTENSIMETRIC TESTING

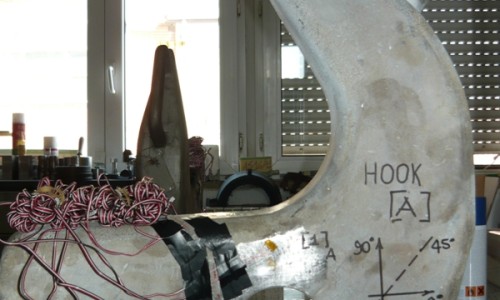
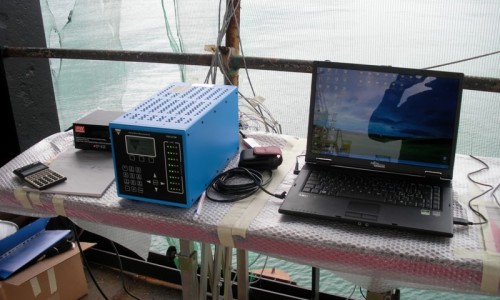
The Extensimetric Testing allow to evaluate, directly on the components, the level of tension-deformation achieved in the various conditions of assembly, manufacture, operation, environment, etc.

The estensimetry represents a useful verification tool for the designer, in fact it allows to verify the peak tensions in the most critical areas and to compare the data obtained experimentally with those resulting from the design activity.

This technique is able to evaluate the most complex multi-axial tension states, also indicating the main stress directions. Estensimetry is therefore a safe system for assessing the stress state of a component; it also provides a valuable aid in the resolution of unexpected breakages occurring during the exercise.

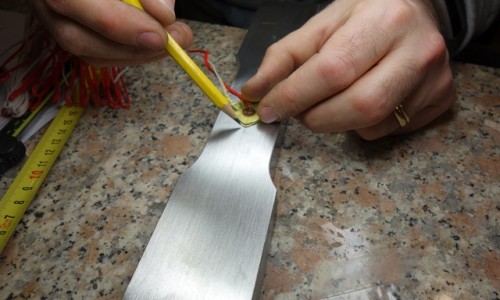
Use strain gages to detect dimensional deformations of a body subjected to mechanical or thermal stress.

METALLOGRAPHIC REPLICATIONS

Control method used for metallographic investigations conducted “in situ”, which involves the execution of a copy of the microstructure of the metallography surface on an acetate support.

HARDNESS TESTS WITH ULTRASOUND PORTABLE INSTRUMENTS

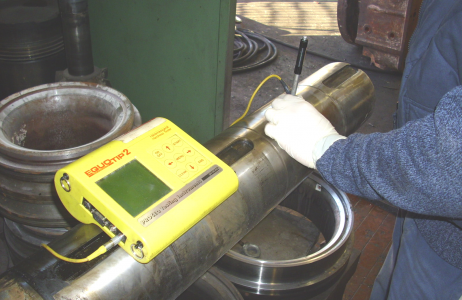
Evaluation of the resistance opposed by a material when subjected to a predefined load applied to an indenter. With the portable equipment, hardness controls such as: Brinell, Vickers, Rockwell, Shore, Barcol can be performed.

PMI (Positive Material Identification)

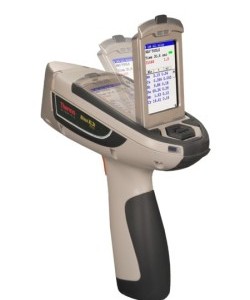
The PMI (Positive Material Identification) analysis is a non-destructive test method for the chemical analysis in situ on ferrous and non-ferrous metal alloys through the use of specific portable instrumentation (in the jargon called “Pistola” PMI).

The method exploits the principle of dispersive X-ray fluorescence energy, commonly called XRF technology and allows to perform extremely fast and accurate non-destructive qualitative and quantitative chemical analyzes.

By applying this technology to the best it is therefore possible to quickly and non-destructively determine the elemental composition of:

  • Metal alloys;
  • Rocks and land;
  • Sludge and liquid samples.

CTS Srl is supplied with a NITON XL3t 980 Goldd instrument.Thanks to the GOLDD – Geometrically Optimized Large Area Drift Detector technology, the XL2-980 analyzer can analyze light elements such as Mg-Magnesium, S-Sulfur, P-Phosphorus, Si-Silicon, Al-Aluminum.

More than thirty elements can be analyzed simultaneously by detecting the characteristic X-ray fluorescence emitted from the sample under analysis, from Magnesium to Uranium.

XRF spectrophotometry (X-ray fluorescence spectroscopy or X-ray fluorescence) is a non-destructive analysis technique that allows to know the elemental composition of a sample through the study of X-ray fluorescence radiation. This radiation is emitted by the atoms of the sample following excitation obtained by irradiating the sample with X-rays and high-energy gamma.

THERMOGRAPHY

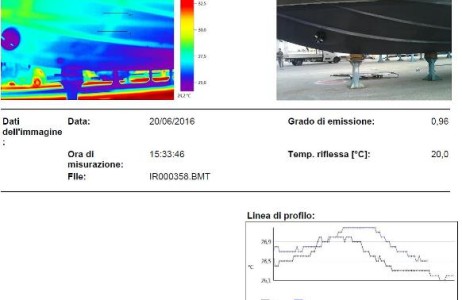
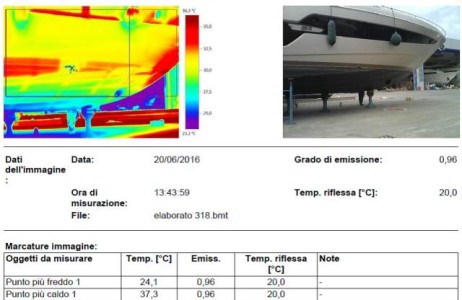
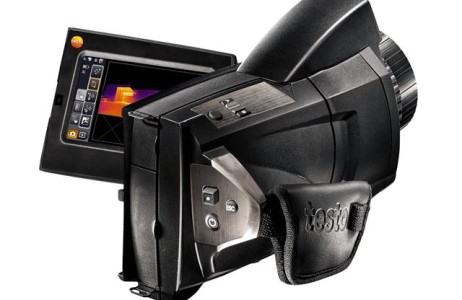
Thermographic analysis is part of the complex of non-destructive tests that the laboratory offers for on-site service activities and at the customer’s premises.
From the application point of view this technique plays a very important role in the detection and documentation of delaminations or discontinuities in monolithic laminates of hulls or tanks etc. It allows a rapid verification of anomalies in electrical systems both on board and in industrial sites. It allows to verify anomalies in the functioning of equipment such as endothermic engines, propeller shaft bearings, etc. comparing the heat emitted by the faulty apparatus compared to the correctly working one.
Another field of application of this technique provides the possibility of carrying out a thermal scan of the building envelopes, being able to investigate qualitatively irregularities present in the roofing.

PERIODIC CHECKS

in agreement with the provisions of the Ministerial Decree of 11 April 2011, the technical staff of the laboratory carries out verification activities such as:

  • Additional investigations, relative to the SC and SP groups, aimed at identifying faults, defects or anomalies produced in the use of work equipment put into operation for over twenty years as well as to establish the residual life in which the machine can still operate in safe conditions with any related new nominal flows;
  • Verification of ten-year integrity, in relation to the GVR group, aimed at ascertaining the state of conservation of the various members by visual inspection of the internal and external parts accessible and inspectable, in the thickness test and any other tests that are necessary in the event that the complete inspectability of the equipment is not guaranteed, doubts emerge on the condition of the members, in the face of evident situations of damage or according to the manufacturer’s indications for equipment constructed and certified according to the product directives (97/23 / CE, 87 / 404 / EEC, 90/488 / EEC).

Questo articolo è disponibile anche in / This content is also available in: Italian

Leave a Reply

OTHER SERVICES